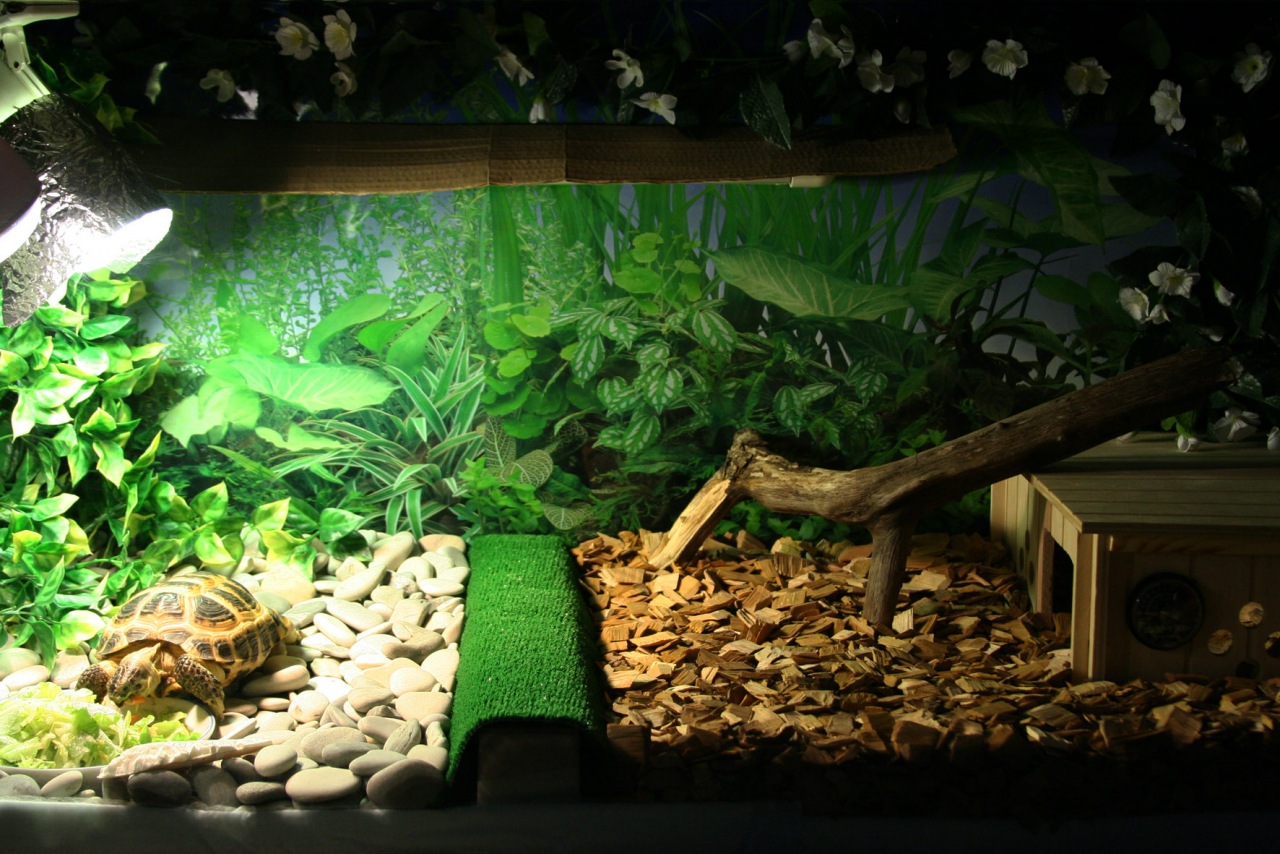
Keeping exotic pets, whether spiders, snakes, or the now-common turtles, requires a special container—a terrarium. You can buy one at a pet store, but it's better to make your own.
Content
Materials
Plexiglass is the most suitable material for a terrarium.
The most suitable and accessible materials for creating terrariums are silicate and organic glass.
Advantages of plexiglass:
- It is more difficult to break than ordinary silicate;
- Containers made of plexiglass accumulate heat well and are reluctant to release it into the surrounding space;
- Its fragments rarely form sharp edges that can cause cuts;
- Plexiglass is easier to process and bond.
Plexiglass has fewer disadvantages than advantages, but each of them can be critical for a terrarium.
- Plexiglass is easily scratched. Therefore, it should only be cleaned with a soft sponge or gauze;
- The surface of the plexiglass becomes cloudy and begins to turn yellow over time;
- Ultraviolet rays are harmful to plexiglass.
Thus, plexiglass is a good material for terrariums, the inhabitants of which cannot scratch the walls. These could be spiders, snakes, or Achatina garters. For terrariums housing animals with sharp claws (lizards or turtles), a different material should be chosen.
In addition to the plexiglass itself, you'll need plastic corners and metal mesh for ventilation. To make the doors, you'll need two types of E plastic profiles. The top profile should be twice as deep as the bottom one. The size of both profiles corresponds to the thickness of the door material.
Choosing Plexiglass
To choose the right plexiglass for a terrarium, you need to know that there are two types: cast and extruded. Cast plexiglass is more expensive, but it eliminates most of the drawbacks mentioned above. It is stronger than extruded plexiglass and is less prone to clouding. Some grades are highly UV-transparent and do not degrade under their influence. Therefore, it's best to choose grades of cast plexiglass that are durable, maintain transparency, and do not block UV rays. The sheet thickness should be at least 5 mm.
Selecting glue
The glue must meet two characteristics:
- Be harmless to living organisms, do not release chemicals when in contact with bedding, water or excrement;
- Be durable and waterproof.
In practice, any silicone sealant for gluing terrariums or aquariums meets these conditions.
When working with such sealants, care must be taken, as drops that harden on the material are difficult to clean off.
Necessary tools
To create a glass terrarium you will need the most common tools.
- Glass cutter;
- Fine-grained whetstone or sandpaper;
- Ruler;
- Glass marker;
- Sharp knife;
- A heavy rectangular object;
- Adhesive tape;
- Sharp scissors.
You also need to take at least two rags: one for wiping glass, and another for other surfaces and hands.
Stages of terrarium construction
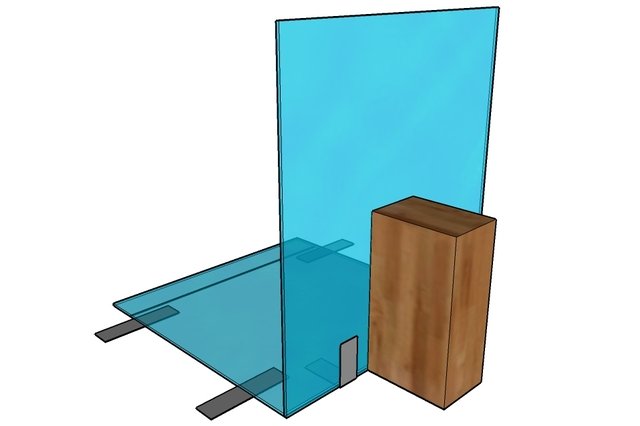
You should start making a terrarium with a drawing. On a sheet of paper or using a computer program, you need to draw each side of the parallelepiped with the dimensions indicated, as well as a general view of the assembled form, with the sides markedYou can use ready-made dimensions recommended for keeping your future pet, or you can calculate them yourself based on the housing standards and conditions of your specific apartment.
Then, using a ruler and marker, the pieces are marked and cut out. If a hole is required, it is drilled before gluing. The edges of the glass pieces are finished with a sharpening stone or sandpaper. To prevent glass dust, this is done under running tap water. Afterwards, the pieces are dried and the bonding areas are degreased with acetone.
Making the base
The parts are joined using glue. It is applied to the degreased edges, after which the parts are pressed together and secured. This is most easily done using electrical tape and a heavy rectangular object.
Connecting the terrarium parts
Excess glue should not be wiped off; it should be carefully trimmed off after the parts have completely dried. It is not recommended to press the surfaces to be glued tightly together; a 1–2 mm layer of glue should remain between them.
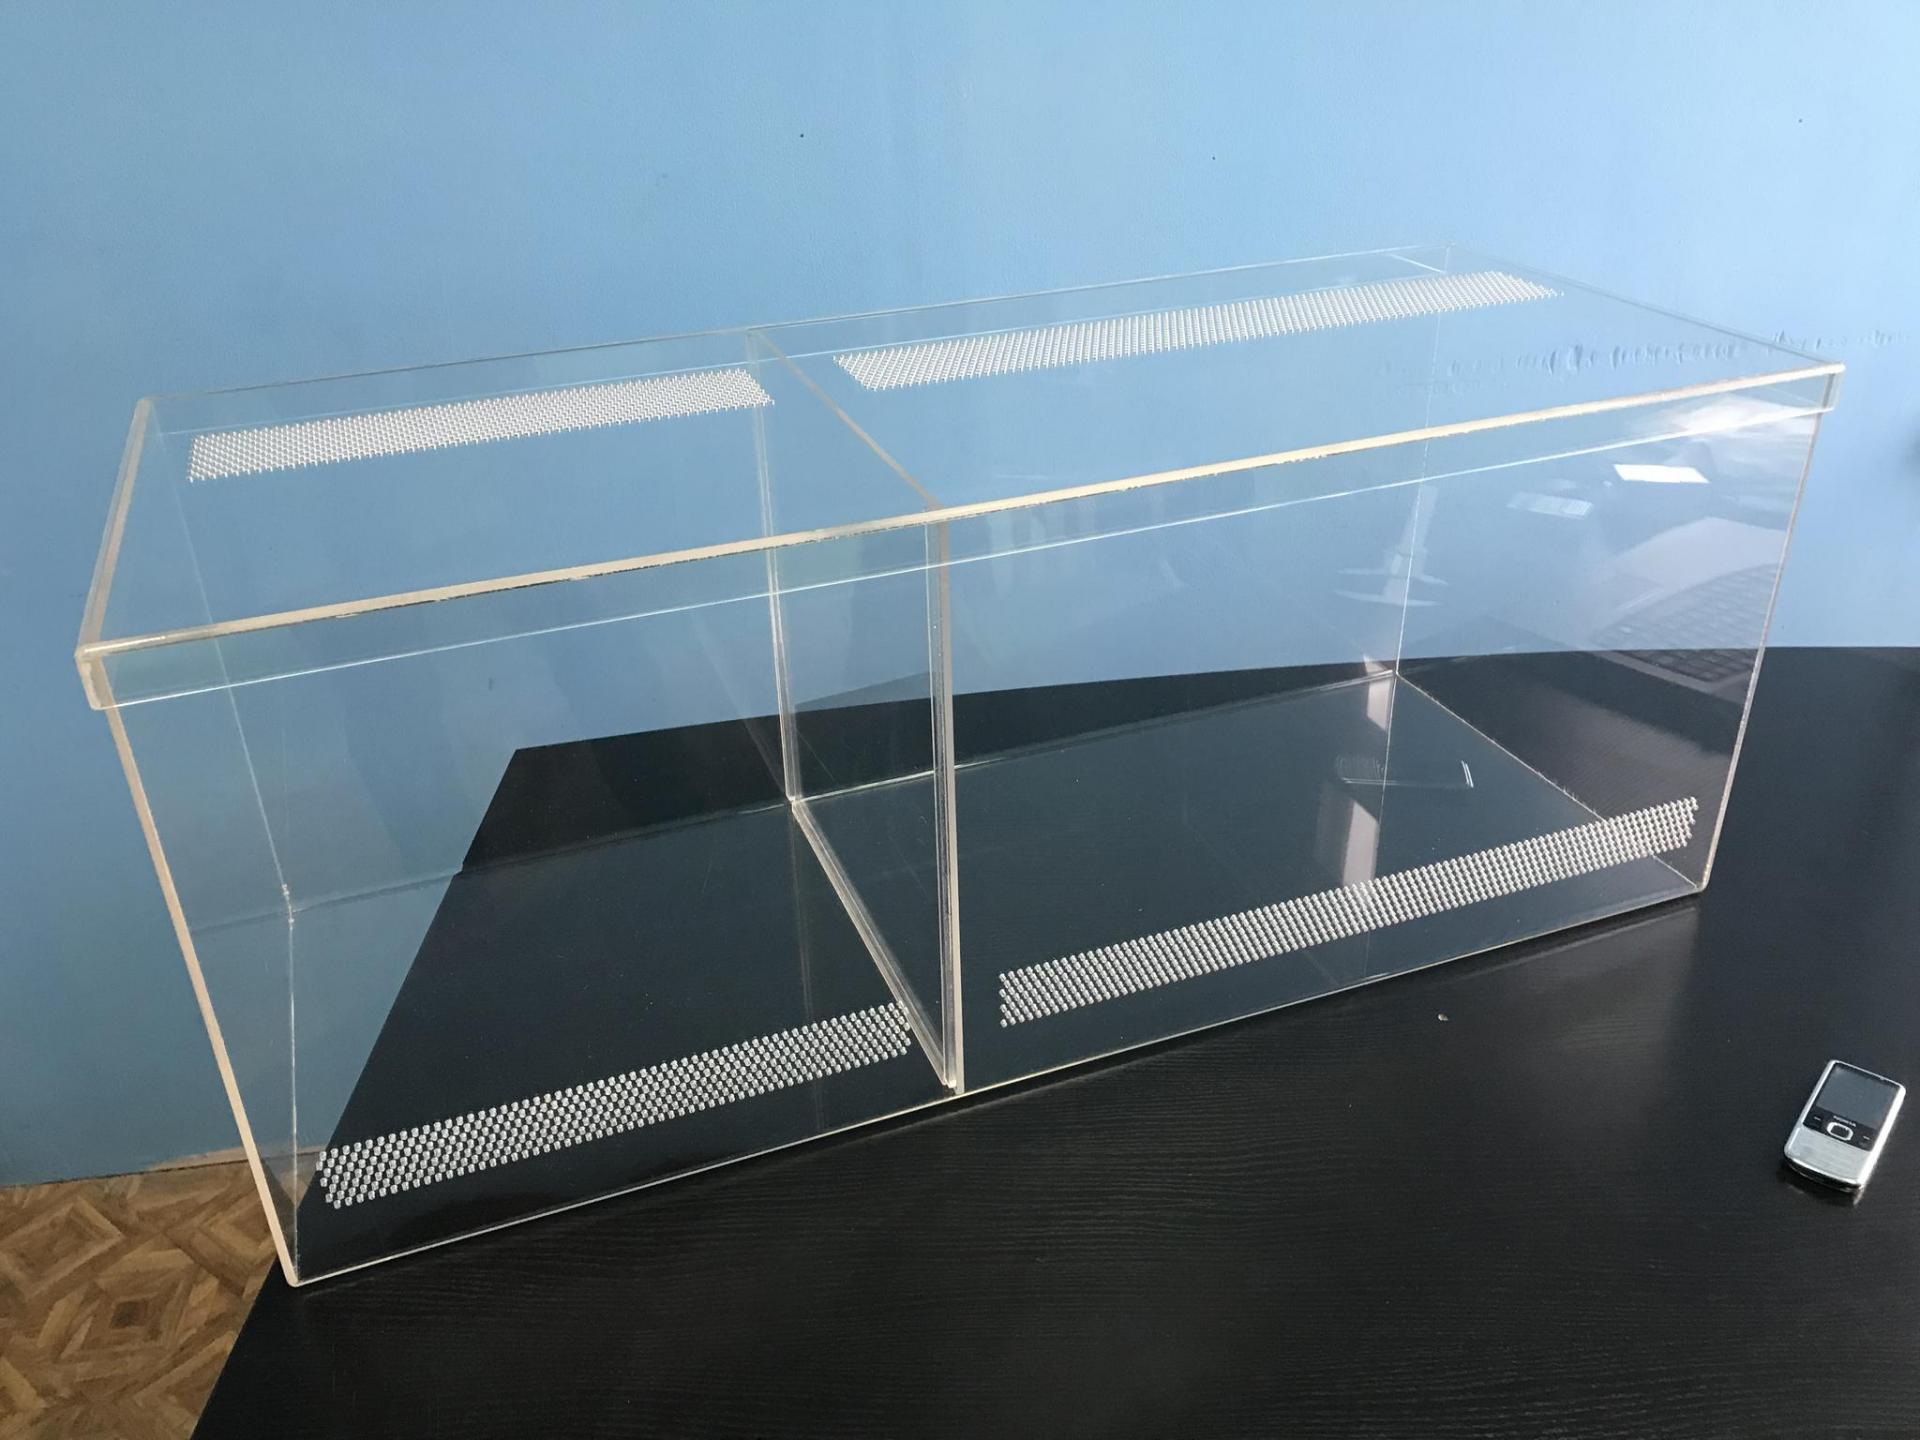
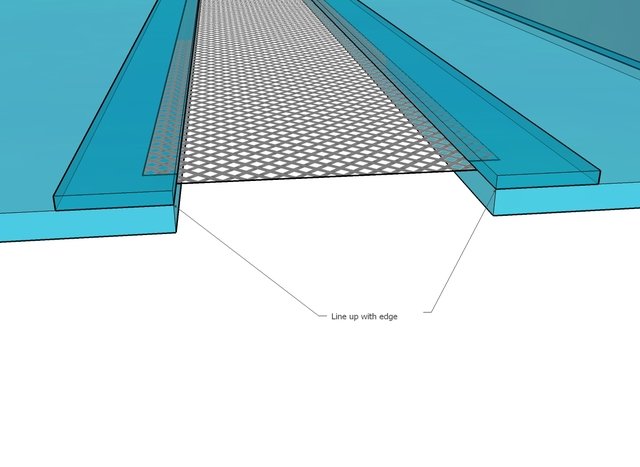
Thus, the frame with the built-in ventilation partition is assembled and the doors are made. To do this, a deep profile is glued to the ceiling from below.
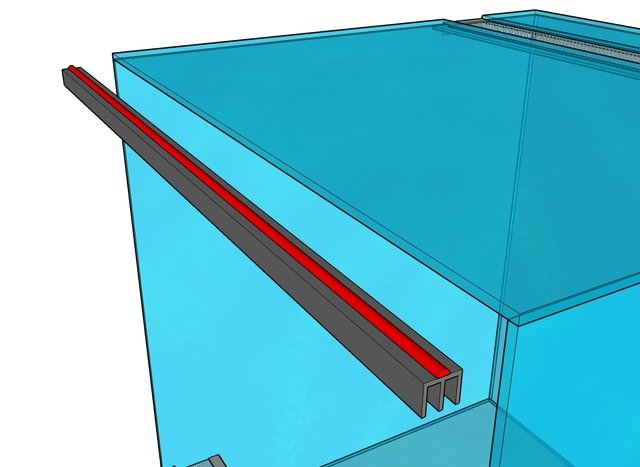
Gluing deep grooves
A small profile is applied to the upper part of the front corner of the ventilation fence.

Gluing small profiles
The doors are inserted into the grooves of the profiles. The resulting structure looks like this.
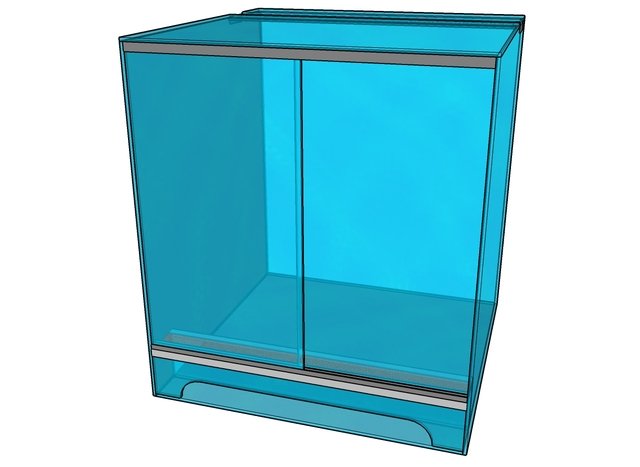
Final design
Manufacturing of a ventilation fence
This design uses flow-through ventilation. It operates by drawing air into one opening and exiting through another, creating a constant flow of air. Setting up flow ventilation is very simple, and it is more effective than ventilation through an open lid.But there are two points that must be observed.
- The air inlet is located at the bottom. The outlet should be 1.5–2 times larger and located at the top. Ideally, it should be located near the heat source;
- The openings should not be positioned opposite each other, otherwise the air flow will create a draft, which is harmful to most insects and reptiles. The best option is to place the inlet on the side wall at the bottom, at ground level, and the outlet on the opposite wall at the very top.
Instead of one large hole, you can make several small ones. Aluminum mesh is best for sealing them. Plastic and synthetic mesh are fragile, and iron rusts when exposed to moisture.
Humidity can also be controlled using flow-through ventilation. To decrease humidity, simply increase the number or overall density of vents; to increase it, decrease it.
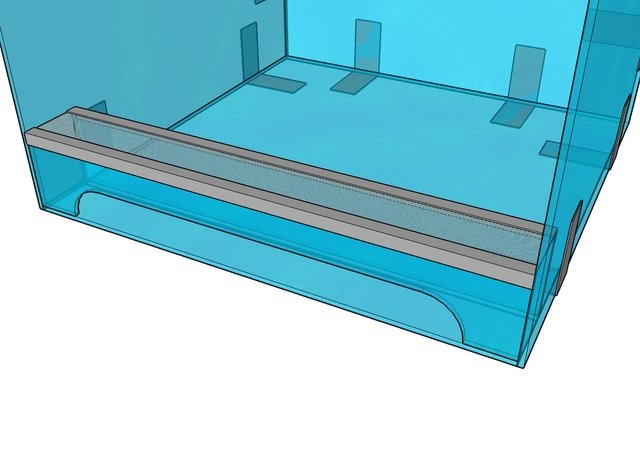
To create a ventilation partition, you need to cut out two additional parts - a strip for the doors and a rectangular ventilation panel.
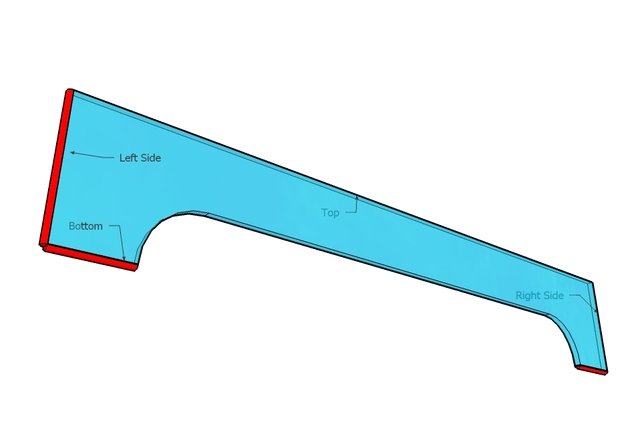
Strip for terrarium doors
They are glued in at the stage when the structure has only a bottom, back and side walls.

There are already two walls
Then the second wall is glued in place. Using corners and glue, the metal mesh is attached to the upper parts of the ventilation components.
Installation of metal mesh
After this, they move on to constructing the roof. Both parts are glued to the resulting frame, and the mesh for the outlet is secured between them using corners and glue.
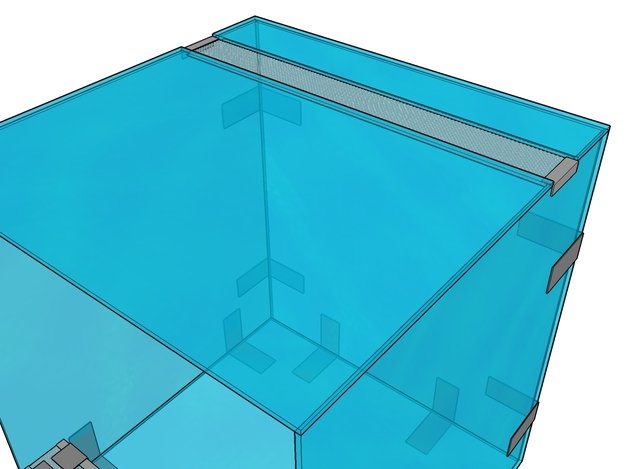
Roof construction
The structure is left for a day to dry, then the edges of both holes are reinforced with glass strips.
Strengthening with glass strips
Making a terrarium lid
Terrariums are often made without doors, but with a removable lid. The advantage of this design is that the lid accommodates sockets for heating lamps and fixtures, as well as fans for forced ventilation.
Forced ventilation is used in larger structures. Ventilation is accomplished using two fans. The first one brings in fresh air from outside, while the second one circulates it within the structure. Any brand that combines compact size and low noise levels, such as cooling fans for computer cases, is suitable for terrariums.
A good material for the lid is foamed PVC, but other non-toxic plastics will also work..
The lid's height is selected based on the equipment that will be attached underneath, and the length and width are based on the terrarium's dimensions, plus an allowance for the thickness of the material. The pieces are cut and glued together in the same way as the glass parts of the terrarium. Holes are made in the finished lid for the wires, and a hatch is cut out. The lamps are then installed. The wires must be carefully insulated, and a piece of plastic must be glued to the sockets, ensuring a gap between the heating elements and the lid.
Features of terrarium arrangement depending on their purpose
For reptiles
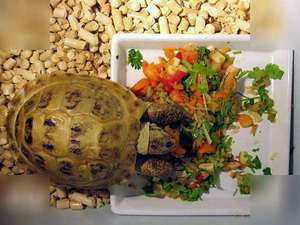
Turtles do best in enclosed terrariums.
Turtles don't tolerate the microclimate of the average Russian apartment well. Therefore, open terrariums are not suitable for them, as they are difficult to maintain the required temperature and humidity. Good conditions for a turtle can only be created in a closed terrarium.
The minimum dimensions of a turtle terrarium are calculated as follows. The length will be equal to the turtle's length multiplied by 5, and the width will be equal to the turtle's width multiplied by the same value. Turtles don't require much height; even for large specimens, terrariums should not be taller than 50 cm.
When choosing a material for the walls, keep in mind that turtles don't always perceive transparent barriers well and may bang against them for a long time. Therefore, opaque materials are preferable. For improved viewing, the front wall can be made of glass. Plexiglass is not recommended, as turtles can scratch it with their claws.
Turtles need very good ventilation, so overhead ventilation through the lid isn't suitable. A flow-through system is needed.
The temperature in the turtle's enclosure should not fall below 22°C (72°F). Therefore, heating is essential. Heat mats and similar devices for bottom heating should not be used, as heat flowing from below can cause kidney damage. Heating should come from above. A standard 60-watt incandescent lamp or an ultraviolet lamp can be used for this. These reptiles prefer uneven heating, with half the area warmer for waking and feeding, and the other half cooler for sleeping. Therefore, the lamps are placed near one wall.
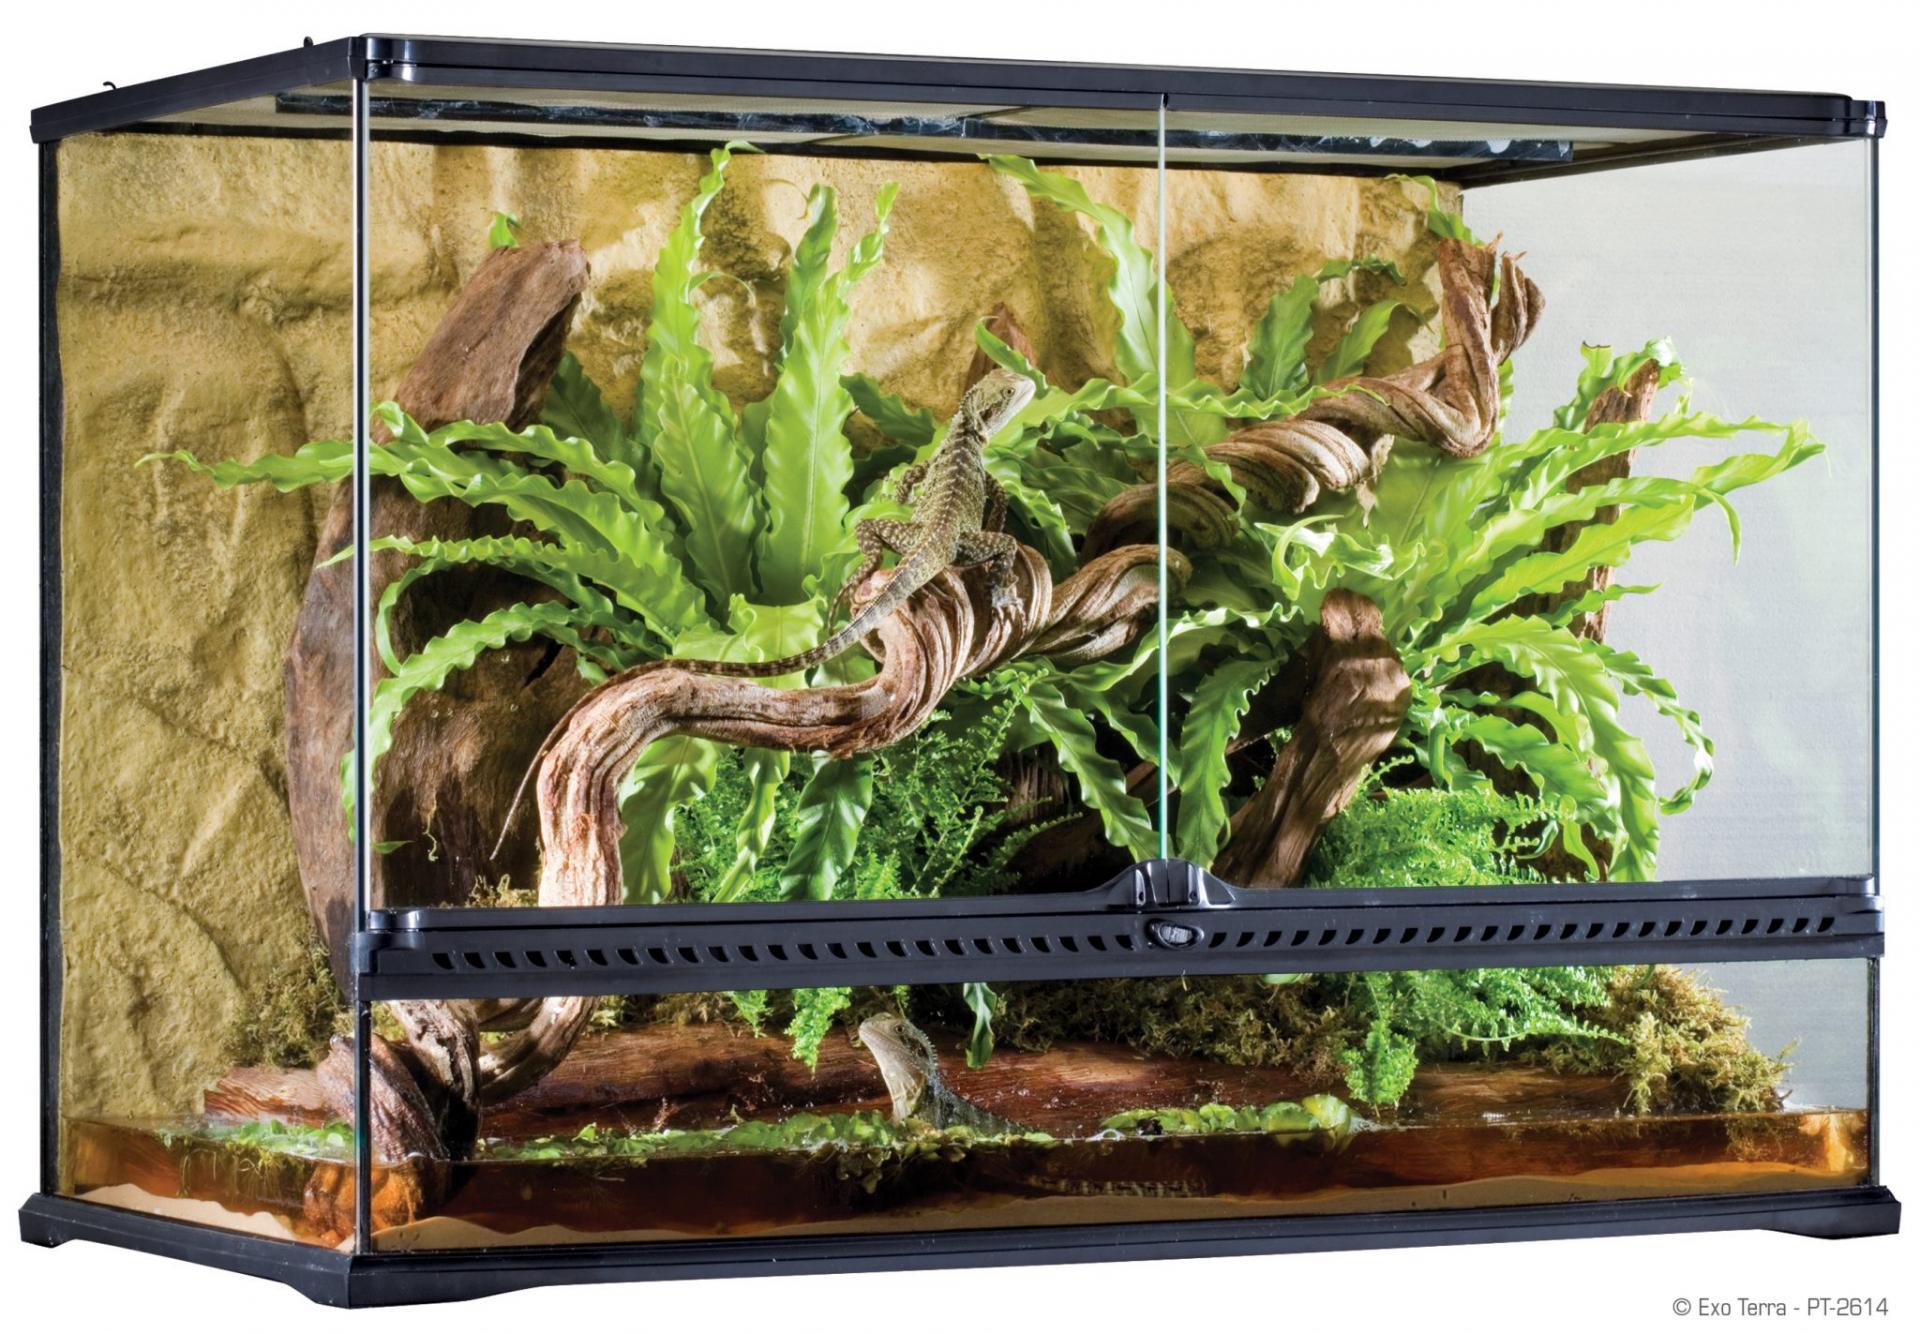
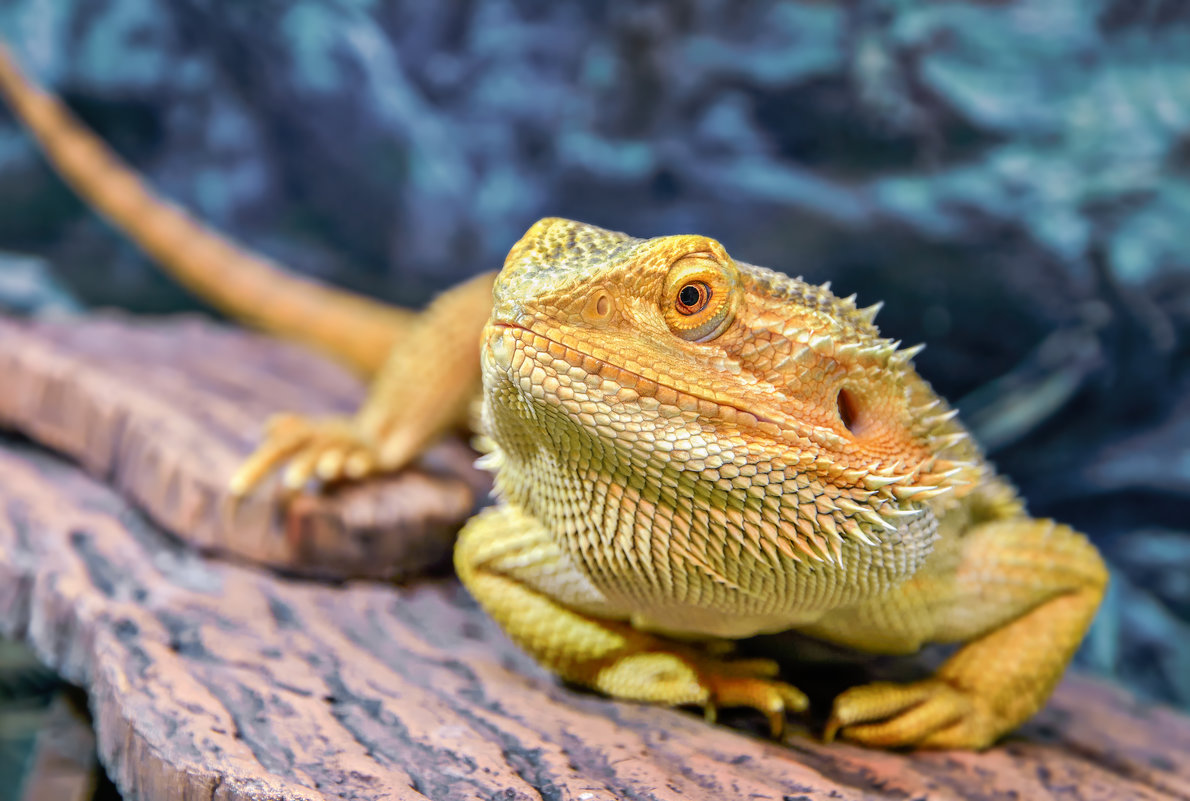
The choice of terrarium for a lizard depends on its species.
The shape of a lizard's terrarium depends on their species. Arboreal lizards require a vertical terrarium, with the height at least twice as wide, while ground lizards require the opposite..
For small lizards, especially those who love to climb, one of the side walls can be made of wire mesh. The mesh diameter should be large enough to prevent the reptile from climbing out, but still allow its feet to cling easily. The lid can also be made from the same mesh. These designs are suitable for reptiles whose optimal temperature is not too different from room temperature.
However, mesh walls are not suitable for keeping iguanas and chameleons. Apartment air is too dry and cold for them. To maintain the microclimate necessary for these reptiles, walls are made of plywood, organic glass, or silicate glass.
Iguanas are kept in horizontal terrariums. For a single adult reptile over one and a half years old, the following dimensions should be used: 200 x 200 x 125 cm. When kept in smaller spaces, iguanas lose their appetite, become less active, and become less resistant to disease.
Small terrariums are also not suitable for keeping agamas; the minimum volume for an adult is 200 liters. A built-in ultraviolet lamp is essential. Rocks with a heating element inside are not suitable for heating; a terrarium lamp or a standard incandescent lamp should be used. Agamas dislike humidity and cold, so the terrarium should be equipped with a thermometer and hygrometer.
Insect terrariums
For spiders and snails, horizontal terrariums without doors, but with removable lids, are suitable.
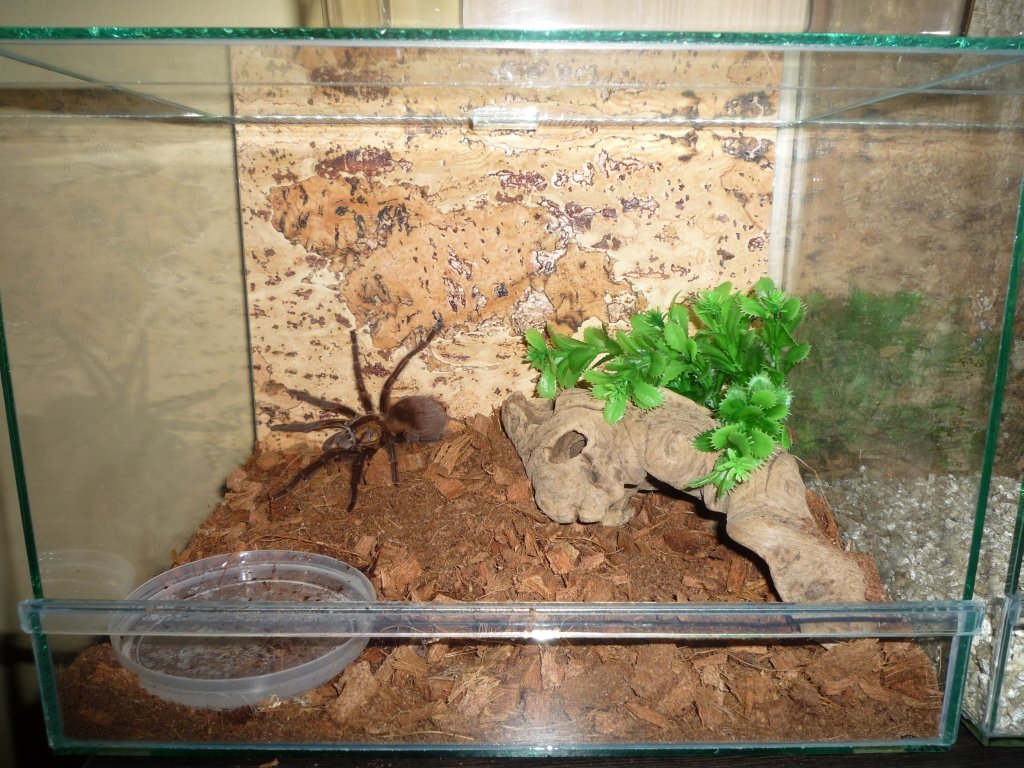
The tarantula does not require a lot of space
Tarantulas are fussy creatures; any deviation from the required humidity and temperature in the terrarium can cause illness. They do not tolerate drafts or stagnant air. Therefore, it is best to equip the terrarium with a heater with automatic temperature control and a hygrometer.
Tarantulas don't need large spaces; in the wild, they spend their entire lives in shelters. The minimum bottom area required is equal to the spider's leg span multiplied by two.
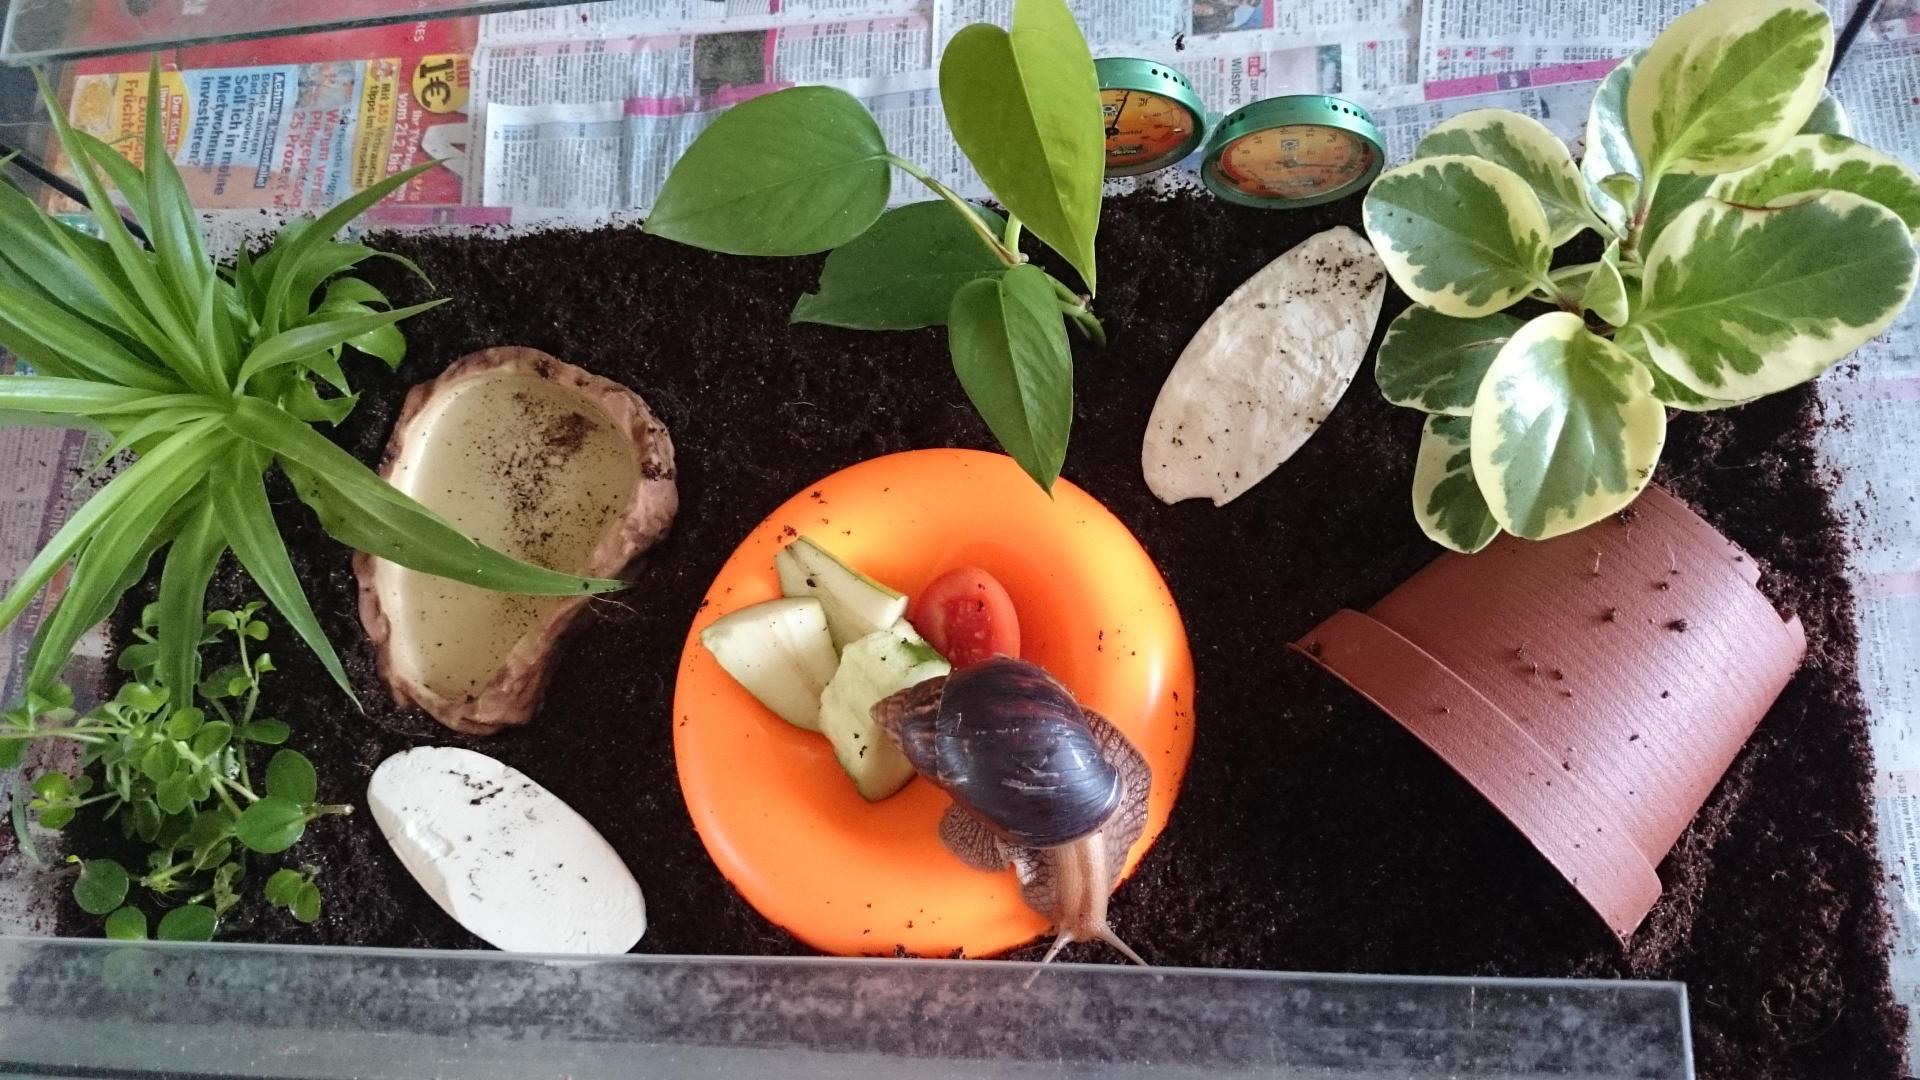
Achatina require a home with a large bottom area.
Achatina snails require rectangular terrariums with a large floor area. These snails do not require a high oxygen supply. A flow-through system is used for ventilation, with rows of 3-4 mm diameter holes for air inlet and outlet.
Features of making a decorative terrarium

It's either a teapot or a terrarium.
Terrariums aren't just for reptiles and insects. Decorative terrariums can contain only plants and decorative elements. They can be made from any glass container, though unusual items are preferred. This video explains how to make a mini terrarium with lighting from an incandescent bulb.
Video: DIY Light Bulb Terrarium
As you can see from the article, making a terrarium yourself is easy, and even someone with no experience can handle it.